Maya Fidget Spinner Modeling Task
Fidget spinners... yay. This was our second week with Maya and we were tasked with modeling a fidget spinner. We were given a lengthy tutorial to help us along, and we were introduced to a few new concepts.
Starting Point
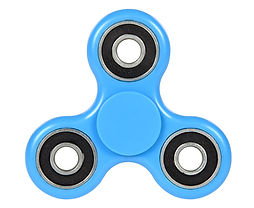
One new concept we were introduced to was getting reference images. Using image panes, you can copy an image into Maya to use as a reference for scale and shape. I found a top down image of a fidget spinner and pasted it into Maya, and built the model on top of it. The image had to have some simple edits in Photoshop beforehand, rotating, centering and removing the background.
Modeling

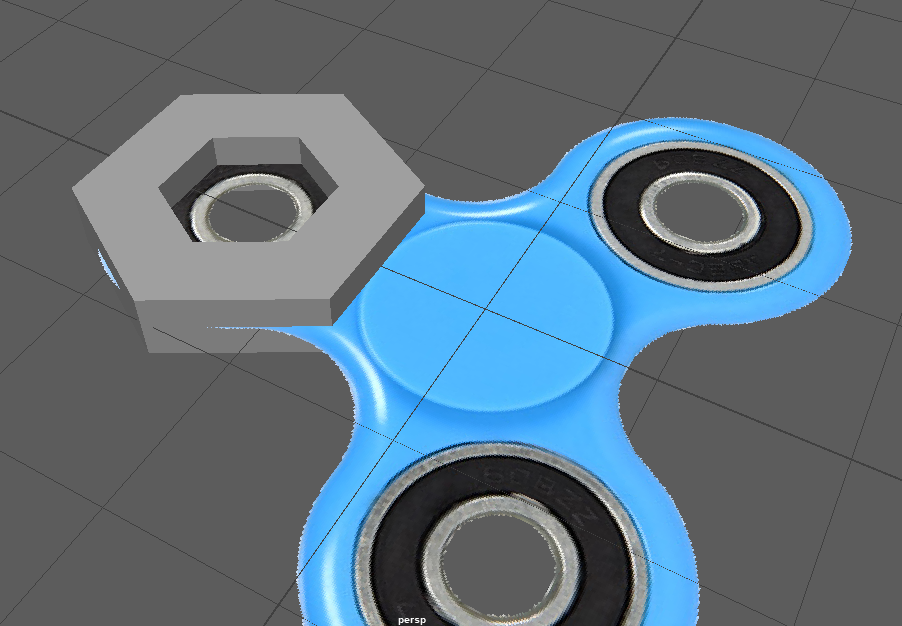
I started off using a 'pipe' primitive to make the 3 points around the spinner where the bearings sit. The plan was to make 3 identical pipes and connect them to a central cylinder. I stared with one, reducing the sub-divisions to 6 as I would be using the smoothed mode and didn't require a lot of polygons. I scaled this to be the right size and shape around the fidget spinner image.


Following that, I wanted to create 2 duplicates of the pipe primitive. In order to ensure these were properly aligned I moved the rotation point (D key) to the center of the spinner. I then used the 'duplicate special' tool to create 2 identical copies that would follow any changes made to the original, rotating them into place. I also made a cylinder in the middle to join the 3 pipes together. To join these together, I had to first remove the faces that would be connected (as leaving these in would cause rendering issues). I combined all the shapes into 1, and connected the vertexes using 'target weld' from the toolbox.
.png)
After that, all I had to do was switch into smoothed mode, and the casing was finished.
.png)
Now onto the bearings. I created another pipe primitive and scaled it to fit inside the holes of the casing. I then moved it to the side and edited the shape. Due to the less rounded shape of the bearing I added edge loops to the sides. These kept the shape more rigid and stopped it from being too smoothed all around. Once I was happy with it, I made 2 copies of it and - figuring that I didn't need to be too precise as they were already scaled, moved them individually into the holes of the spinner.
.png)
.png)
I decided I was finished after that. I could have added more details on the bearings and elements like the disc in the middle, but didn't have the time and wanted to move onto something else. I enjoyed the task, and it has been an extra step towards making me more comfortable with the software.
